Unveiling the Journey of Latex balloon Making: A Blend of Art and Modern Manufacturing
2024-04-11
What many don't realize is the intricate process that goes into creating these colorful spheres. Here, we take you through the 11 steps that transform raw materials into the latex balloons that add cheer to our special occasions.First introduce the first 5 steps.
1. Preparing the Raw Materials
The foundation of any latex balloon is its material. Manufacturers begin by sourcing high-quality latex, a natural rubber derived from rubber trees. This material is chosen for its elasticity and durability, ensuring that the latex balloons are both strong and flexible.

2. Straightening and Cleaning Molds
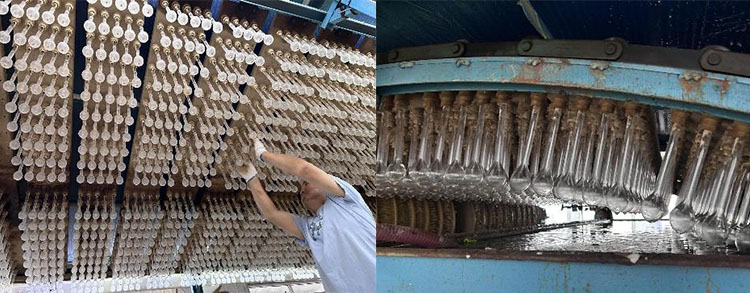
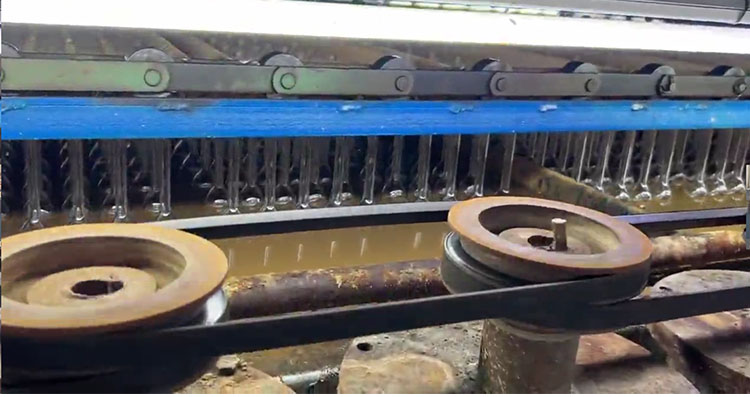
Molds are essential for shaping the latex balloons. Before use, they must be straightened and thoroughly cleaned to remove any residue. This step is crucial for the latex balloons to detach smoothly after the molding process.

3. Inner Isolation (Ease of Demolding)
An inner isolation layer is applied to the molds to make it easier for the latex to release after it has been shaped. This step is critical for ensuring that the latex balloons maintain their shape during the demolding process.

4. Dipping in Latex (Coating)
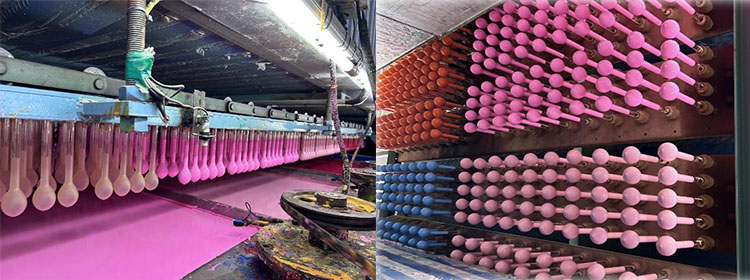
The dipping process is where the latex is applied to the molds. Multiple dips build up the layers of latex, creating the desired thickness and strength for the latex balloon. This step requires precision and expertise to achieve the right balance.

5. Edge Rolling (Flanging)
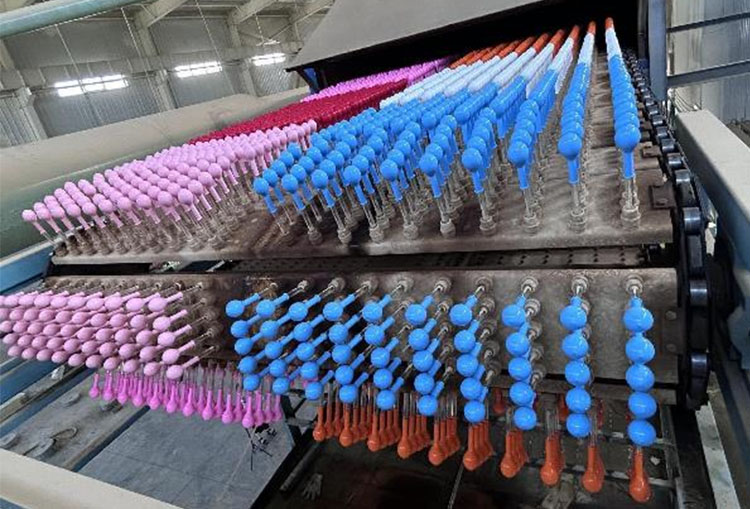
After the latex has been applied, the edges of the latex balloon are rolled using large brushes at the base of the mold. This manual process, known as flanging, gives the latex balloon its finished, seamless edge.When this is done, it forms the mouth we see.
6. Drying
Once the latex balloons have been shaped, they are placed in a controlled environment to dry. During this stage, the latex hardens, taking on the final form of the latex balloon.


